A lower electric bill does not start when the panels hit the roof. It starts much earlier – with a home assessment that determines whether solar will actually perform the way it should.
That is the real answer to how residential solar installation works. It is not a single appointment. It is a step-by-step process that moves from evaluating your roof and energy use to system design, permitting, installation, inspection, and utility approval. When each stage is handled correctly, the result is a solar system that produces reliable power, offsets utility costs, and fits your home instead of forcing your home to fit the system.
How residential solar installation works from day one
The first step is understanding your home’s energy profile. Installers look at past electric bills, average monthly consumption, seasonal usage swings, and any planned changes such as adding an EV charger, pool equipment, or electric heating. A household that uses more power in summer because of air conditioning may need a different design than a home with steady year-round demand.
The roof matters just as much as the bill. Orientation, pitch, shading, usable surface area, and roof age all affect system size and production. South-facing roofs usually deliver the best output, but east- and west-facing planes can still work very well depending on local rates and your consumption pattern. If a roof is near the end of its life, it may make sense to address roofing first rather than install solar and remove it later for replacement.
This early stage is where good providers separate themselves. A serious solar company does not just try to fit the maximum number of panels. It designs around production goals, aesthetics, code requirements, and the condition of the home.
Site assessment and system design
After the initial review, the next phase is a more detailed site assessment. This often includes measurements, structural checks, electrical panel review, and a closer look at obstructions such as vents, chimneys, skylights, or neighboring trees. Installers also confirm whether your main service panel has enough capacity for a solar interconnection or whether an upgrade is needed.
Then the system is designed. This includes panel layout, inverter selection, wiring paths, mounting method, and expected energy production. Some homes are best served by string inverters, while others benefit from microinverters or power optimizers, especially when roof planes face different directions or partial shading is an issue. There is no one-size-fits-all setup, and that matters because equipment choices affect efficiency, monitoring, future serviceability, and total project cost.
At this stage, many homeowners also decide whether to add a battery. Solar alone lowers grid consumption during production hours. Solar plus storage can provide backup power during outages, help manage time-of-use rates, and give the home more control over when stored energy is used. The trade-off is a higher upfront price, so the right choice depends on your budget, outage concerns, and utility structure.
Permits, approvals, and utility paperwork
One reason homeowners often ask how residential solar installation works is that they expect the hard part to be physical labor on the roof. In reality, paperwork and approvals can take just as much time as the install itself.
Before construction starts, the project typically needs permit approval from the local authority having jurisdiction. Plans may need structural details, electrical diagrams, equipment specifications, and engineering sign-off. The utility also has to review the interconnection request so the home can safely connect the solar system to the grid.
This stage can move quickly or slowly depending on the city, county, and utility. Some jurisdictions are efficient. Others are not. That is why the project timeline is not always in the installer’s direct control. What should be in their control is accuracy. Clean paperwork, complete documentation, and experience with local requirements usually prevent unnecessary delays.
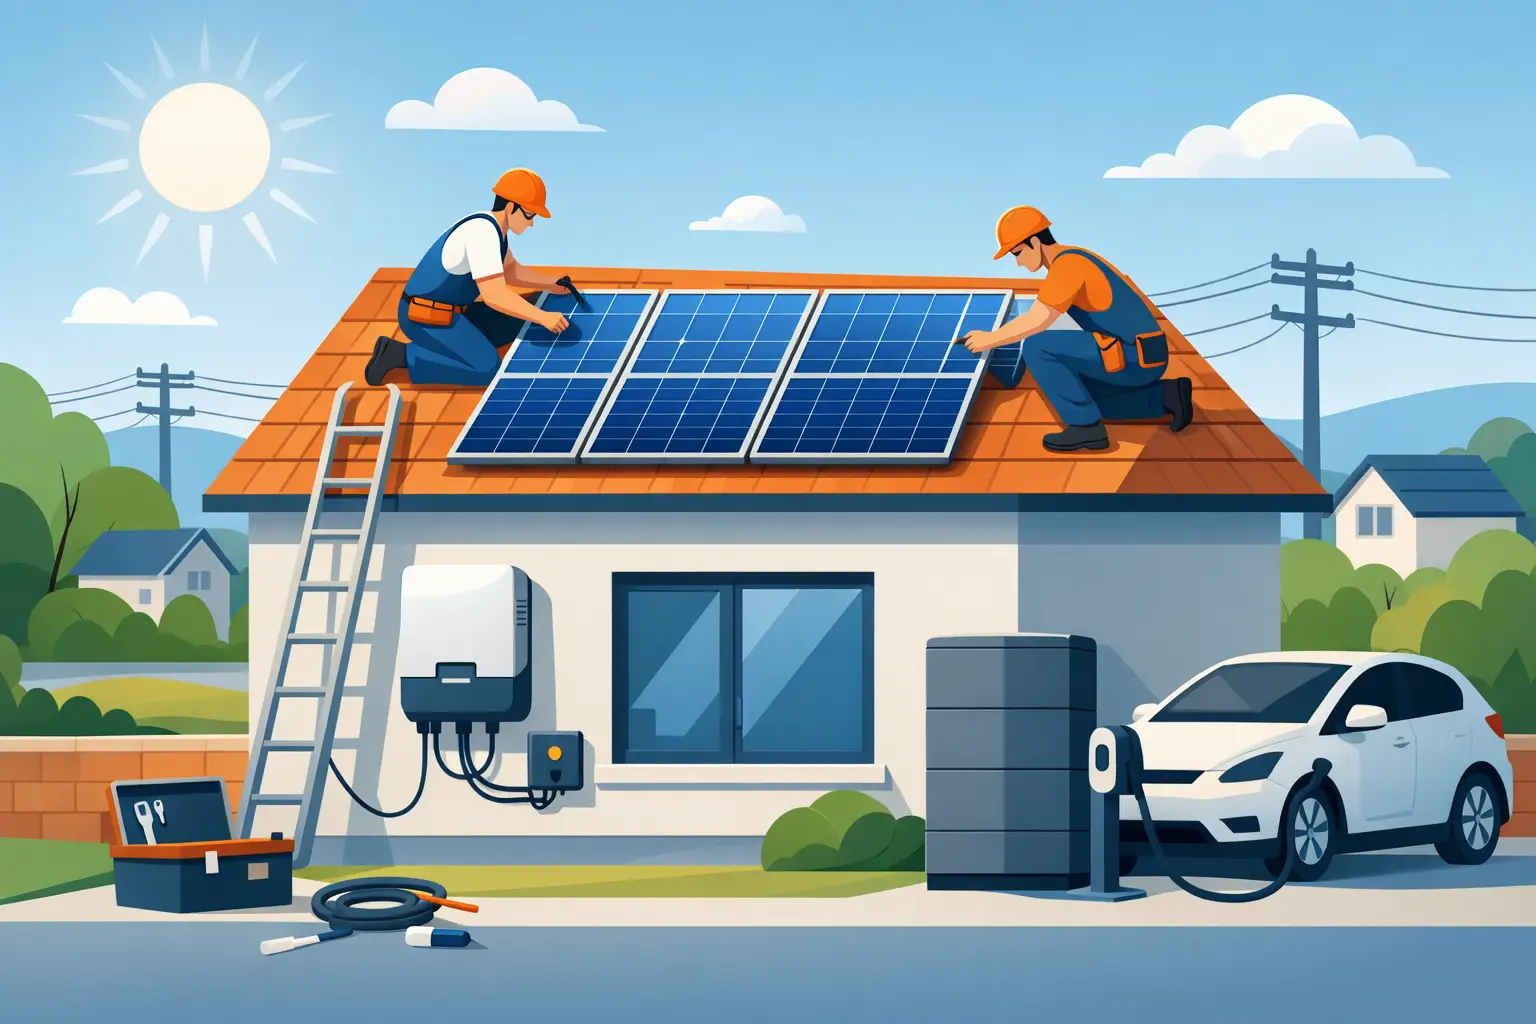
What happens on installation day
Once permits are approved and materials are ready, the physical installation begins. For many homes, this part takes one to three days, though larger or more complex systems can take longer.
The crew starts by preparing the roof and marking attachment points. Mounting hardware is secured to the roof structure, not just the surface material, because the system must withstand wind, weather, and long-term loading. Flashing and waterproofing details are critical here. A solar installation should protect your roof, not compromise it.
After the racking is in place, the panels are mounted and wired. At the same time, electricians install the inverter or inverters, disconnects, conduit, and monitoring equipment. If the project includes a battery, smart panel, or EV charger, those components are integrated into the home’s electrical system as well.
Most homeowners are surprised by how organized this phase is. A professional crew is not improvising on site. They are executing a plan that has already been engineered and approved.
The electrical connection behind the scenes
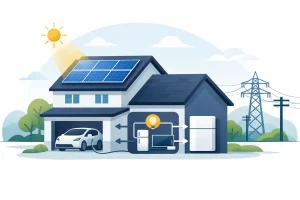
Solar panels generate direct current electricity. Your home uses alternating current. That means the system needs an inverter to convert the energy into usable power for lights, appliances, electronics, and HVAC equipment.
Once converted, the solar electricity flows into your home’s electrical panel and serves your loads first. If the system is producing more than the home is using at that moment, the excess typically goes back to the grid, subject to your utility’s rules and compensation structure. If the home needs more electricity than the panels are producing, the shortfall comes from the grid unless a battery is available to supply it.
This is why solar production and household timing both matter. A system may generate plenty of energy over the course of a month, but if your utility has time-based rates, it can still be smart to pair solar with storage or load management. Savings are not just about total kilowatt-hours. They are also about when energy is produced and used.
Inspection and permission to operate
After installation, the system is not usually turned on immediately. It first needs inspection and final approval. The local building department or electrical inspector checks that the project matches the approved plans and complies with code. The utility may also need to install or reprogram a meter.
Once the utility issues permission to operate, the system can be activated. This is the point where your home begins generating its own electricity for everyday use.
Monitoring is typically set up at the same time. Good monitoring lets homeowners track production, spot unusual performance drops, and verify that the system is doing what it was designed to do. That visibility matters, especially for owners who want to understand payback and long-term value.
What can affect timeline, cost, and performance
A straightforward residential project may move from contract to activation in a matter of weeks, but some take longer. Roof repairs, panel upgrades, battery integration, local permit backlogs, and utility processing times can all affect the schedule.
Cost also depends on more than panel count. Premium equipment, battery storage, steep roofs, tile roofs, trenching, service panel work, and backup load configuration all influence price. Financing can reduce the upfront barrier, but homeowners should still look closely at system design, estimated production, warranty coverage, and who will handle service after the sale.
Performance has its own variables. Shade, dirt, extreme heat, panel orientation, and future changes to the property can all influence output. Even an excellent system will not perform as projected if the home was measured poorly or the design ignored real-world site conditions. That is why experience matters. Companies that manage design, roofing coordination, installation, storage, and ongoing service under one roof can often deliver a smoother result with fewer surprises. For homeowners who want one partner from planning through long-term support, that model can be a real advantage.
Why the process matters as much as the product
Homeowners often focus on the panel brand first, and equipment quality does matter. But solar is not a shelf product. It is a home upgrade that depends on design accuracy, code compliance, installation quality, and post-install support.
A great panel on a poorly planned project will not produce a great outcome. A well-designed system, installed cleanly and backed by responsive service, is what actually drives savings and reliability over time. That is why companies with deep installation experience, financing options, roofing knowledge, and battery integration capabilities tend to create more value than companies that only sell systems and outsource the rest.
If you are considering solar, the best next step is not guessing at panel counts or chasing the lowest advertised price. It is getting a real assessment of your home, your bill, your roof, and your goals – because the right solar system should be built around the way you live, not just the space you have.